Planting Lavender in Pots: A Complete Beginner’s Guide
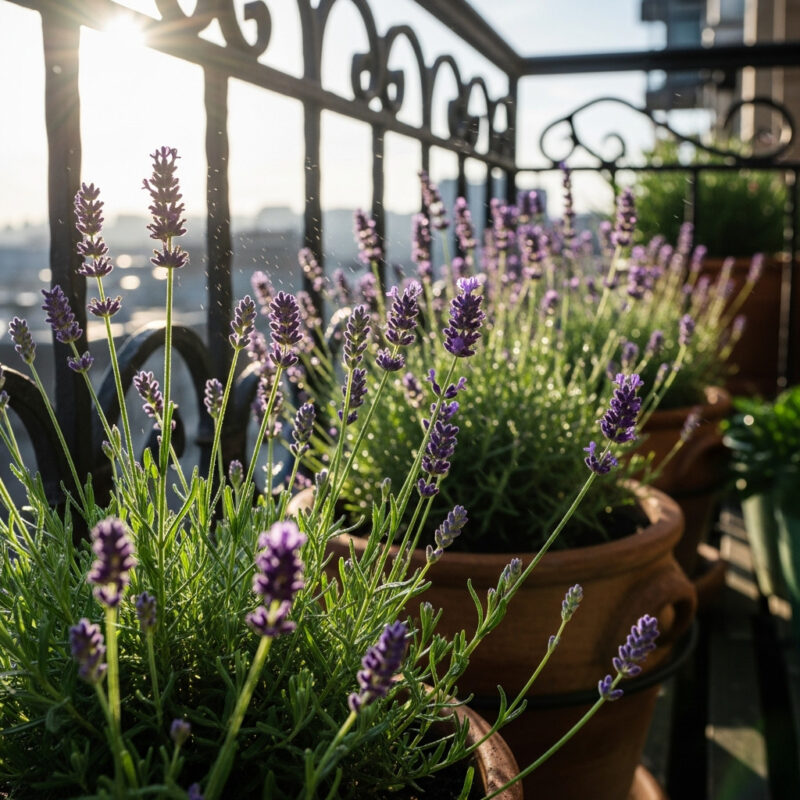
Why Planting Lavender in Pots? (The Advantages) Growing lavender in pots is awesome for tons of reasons! For starters, it’s perfect if you’re working with limited outdoor space or maybe just want to control exactly how your plants grow. But let me tell you, there’s more to it than that! Seriously, container gardening gives you flexibility. You can move it around for sun or shade, protect it in harsh weather, and it feels satisfying to watch a plant thrive even in a pot. It’s like giving a little bit of that Mediterranean feel right in your space. Plus, if your soil is heavy or questionable, potted plants basically get a fresh start each year, which feels pretty good!
What You’ll Need: Gathering Your Materials
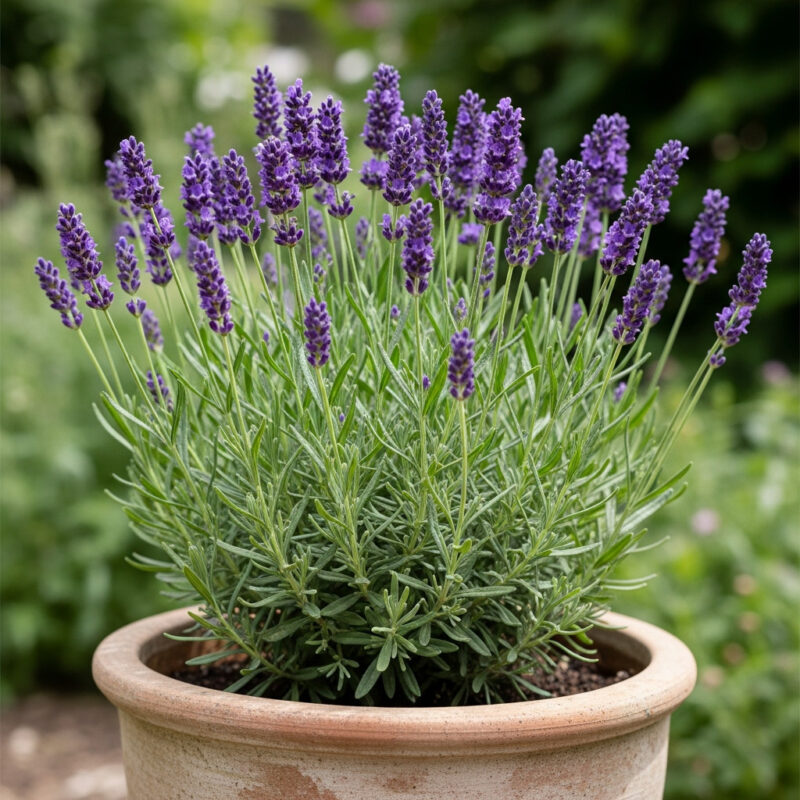
Choosing the Right Pot: Size and Material Matters
Seriously, choosing the right pot is super important! Lavender likes well-draining soil, so you gotta look for pots with drainage holes. A size around 12-18 inches wide works well. Personally, I think ceramic or clay pots are great because they help with air circulation and draining excess water. They feel substantial, you know? And honestly, seeing your lavender pot stand proudly on the patio is pretty rewarding. Terra cotta is another option, but just be prepared for it to get heavier and maybe crack a bit more over time in the weather.
Selecting the Perfect Potting Mix for Lavender
You’ll need a good quality potting mix to get your lavender started. Again, drainage is crucial here. Adding some extra perlite or coarse sand can really help ensure the mix drains properly, stopping root rot before it starts. It makes a big difference! I’ve even mixed in some pine fines if I have them around; it helps too, but don’t overdo it. It’s kinda fun experimenting a little with mixes, finding what works best for your specific spot.
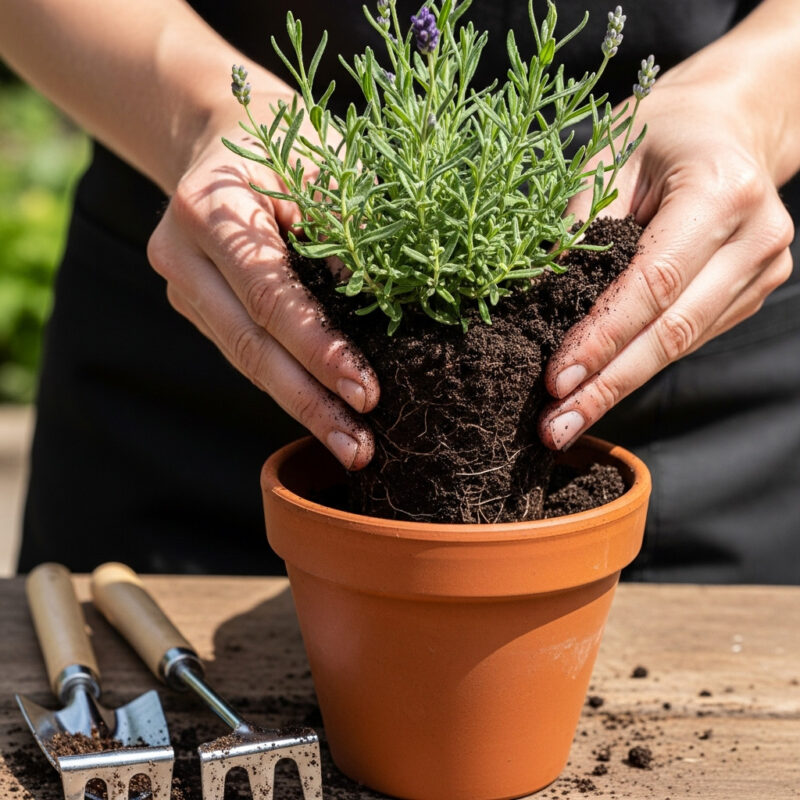
Step-by-Step: How to Plant Lavender in Pots
Preparing the Pot:
Cleaning and Draining Before you even think about planting, clean out any old soil or debris from your pot. Check all those drainage holes – don’t let anything block them! It might seem simple, but it makes a huge difference. Clogged drainage holes are the fastest way to get soggy roots and unhappy lavender.
Creating the Ideal Hole for Your Lavender Plant
Think about digging a hole for your lavender plant. It needs to be deep enough so the roots have room but not so crowded. I usually make a hole slightly bigger than the root ball itself. That gives everything a good start. It’s like giving it a little nest to settle into before it begins its new life in the pot.
Planting the Lavender Seedling or Sow Seeds
This part can be super easy, or maybe a bit tricky depending on what you’re doing. If you’re starting with seeds, just plant them just under the surface. If you’re planting a seedling, pop them gently out of their little pots – sometimes that little root ball stays intact, other times it crumbles slightly, which is fine. Then carefully place it in your prepared hole, filling in around the roots. Easy peasy, but yeah, be gentle with those tender roots. Maybe grab a handful of the fresh, pre-mixed soil and gently firm it in without packing it down too hard. Like giving it a little hug before you water.
Essential Lavender Care for Potted Plants
Mastering Watering: Less is Often More
Ah, okay, overwatering lavender is a huge common mistake, and it can really mess things up. The secret is pretty simple: less is more! Stick your finger about an inch down into the soil – if it feels dry, it’s time to water. Wait until the top feels dry again, then do it again. This really helps prevent root rot and keeps things healthy. It might feel like you’re barely touching the soil, but that’s exactly right for potted lavender – they don’t like to be constantly waterlogged. It’s all about finding that balance, like finding the right level for a sensitive friend.
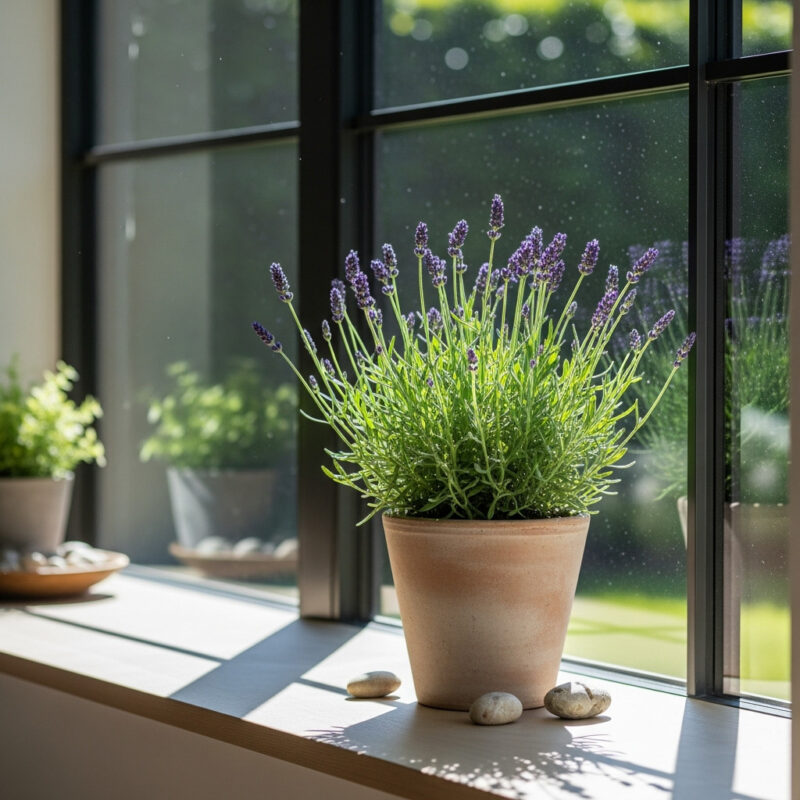
Lighting Requirements:
Sun-Loving Succulent Lavender is seriously a sun lover. Aim for at least (6) hours of direct sunlight a day. If you’re growing it indoors, get it as much natural light as you can, maybe near a south-facing window. Or, if you don’t have that, use grow lights – they work great! I always recommend putting the grow lights a few inches above the plant and moving them up as it gets taller, like tending to a little plant friend.
Feeding Your Potted Lavender: Fertilizing Tips
When it comes to feeding, remember less is best. Give your lavender a light feeding with a balanced fertilizer once in the spring and maybe again early in the summer. Don’t go crazy with it, okay? Too much can actually make the plant floppy and weak, almost like it’s losing its structure. Think of it as a gentle nudge, not a feast.
Pruning and Deadheading for Healthy Growth
Pruning is key to keeping your lavender looking its best and growing properly. Deadheading (removing spent flowers) is a big help – it makes the plant look nicer and encourages it to keep blooming all season. Plus, if you see any leggy or damaged stems, pruning those back helps shape the plant and keeps it looking bushy. It’s kinda like grooming your dog, it just keeps it neat and happy.
Troubleshooting Common Potted Lavender Issues
Dealing with Pests in Potted Lavender
If you spot tiny bugs on your lavender leaves or stems, chances are it’s something like spider mites or aphids. The first step is usually just giving the plant a good blast with water from the hose – that often knocks the little guys right off. Sometimes, using a bit of neem oil can help keep things pest-free, but do a test patch first on a small area if you haven’t used it before. It’s pretty much like washing it down, a gentle cleansing.
Identifying and Fixing Yellow Leaves
Seeing yellow leaves on your lavender can be a bit alarming, like finding a red flag. It could be too much water, not enough water, missing nutrients, or maybe even too much sun. Check your soil – is it wet or bone dry? If it’s the watering, adjust that. If it’s nutrient-related, maybe a gentle feeding is in order. Sometimes it’s just natural aging, especially on the lower leaves as the plant puts energy into new growth. Just keep an eye out!
Reviving Wilting Potted Lavender
If your lavender starts looking droopy or wilting, check the basics first. It’s often due to drainage issues or too much water sitting in the soil. Make sure your pot is draining properly and you’re not leaving it sitting in water. Good drainage is your best friend here. It’s usually a sign of immediate need, so act fast!
Frequently Asked Questions (FAQs)
Can I Plant Lavender Seeds Directly in Pots?
Yep, definitely! You can absolutely plant lavender seeds directly in pots, but it might take longer for them to germinate. If you’re short on time or just want a quicker start, buying small seedlings can be a great option too. Sometimes I just pop the seeds into a small pot for quick germination before transplanting.
How Often Should I Water My Potted Lavender?
Honestly, watering depends a lot on the weather and your pot size. As a general rule, only water when the top inch or two of soil feels dry. That might be every week or two, but it can vary wildly depending on heat, humidity, pot material, and size. Always check the soil before reaching for the watering can!
What’s Wrong with My Lavender Plant?
Okay, if your lavender isn’t looking happy or healthy, start checking the basics: look for pests, check your soil moisture (is it too wet or too dry?), and see if it’s getting enough light. It might just be a case of too much sun, not enough water, or a bit of nutrient deficiency. Making small adjustments usually fixes things. If you’re really stuck, don’t hesitate to ask folks at your local garden center – they usually have great advice. They might even give you a discount if you’re buying something from their store!
Conclusion
Alright, that’s a wrap on planting lavender in pots! Hopefully, this guide has given you a good feel for getting those fragrant, beautiful plants growing happily in containers. It’s a fun little hobby, don’t you think?