Unveil Your Halloween Spooky Home: Creative Pumpkin Carving Decor Ideas
Halloween’s practically knocking on your door, right? Which means it’s time to dig out the pumpkin carving tools! But seriously, who wants a plain old grin again? Boring! It feels like you’re supposed to just do the basic face, doesn’t it? How about turning your home into something truly *spooky*, like a mini-movie set for haunted houses everywhere? Totally achievable, I think.
Setting the Stage for Spooky Style
Why Carved Pumpkins Are Key to Your Halloween Decor
Think about Halloween without pumpkins – kind of like Christmas without decorations, doesn’t it? Pumpkin carvings aren’t just decorations; they’re tradition, for sure. But honestly, getting creative with them can transform your place. It makes it feel less like an apartment and more like it’s got that authentic Halloween *je ne sais quoi* – that eerie, fun, slightly thrilling vibe.
Picking the Right Pumpkins: Decor Starts Here
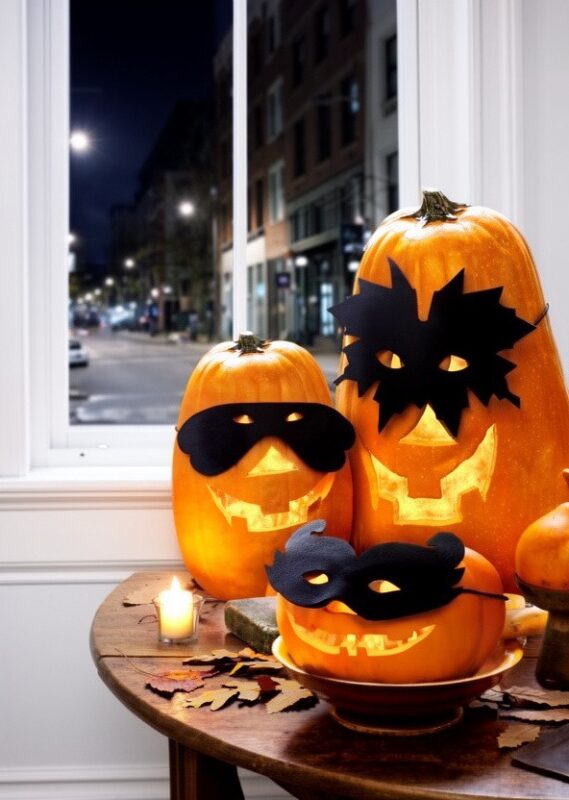
You absolutely *need* to be picky about your pumpkins if you want decent decor. Look for ones with a good mix of colors and textures – some deep orange, maybe a patch of green or even a smidge of white showing? That bit of variation makes for a much cooler, more interesting display overall. Oh yeah, and pick them firm! Nothing floppy if you want them to actually last through the night – imagine finding a soggy Jack-O’-Lantern, it really takes away the magic, doesn’t it?
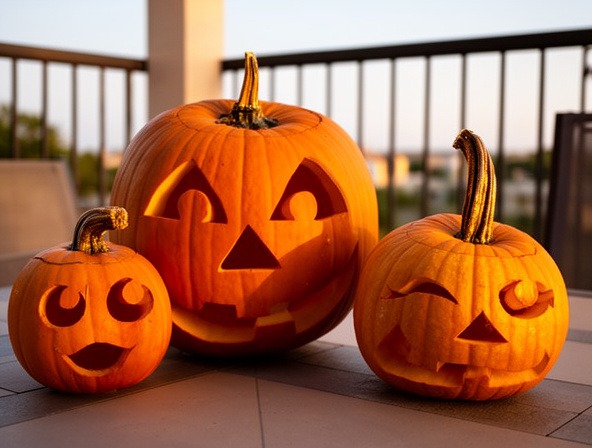
Essential Gear: Your Pumpkin Decorating Toolkit
Beyond the Spatula: You’ll Need These Tools Too!
Okay, yeah, a sharp knife (or one of those cool pumpkin carving kits) and some rags are basic necessities. But you’re seriously missing out if you skip the chisels and a good carving needle. Having the right tools really helps you get those intricate details down – trying to carve fine lines with a butter knife is just plain painful!
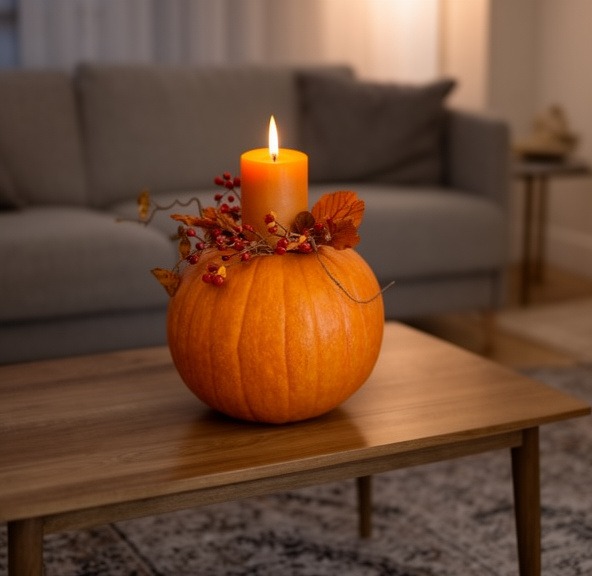
Lighting Up the Scene: Glow Sticks!
Got those glow sticks lying around? You *really* should use them! They’re fantastic for Halloween. Place ’em inside your carved pumpkins or even just strategically *around* them. That cool, eerie, pulsing glow effect? It’s game. *Seriously*. It just elevates everything from ‘okay’ to ‘wow’.
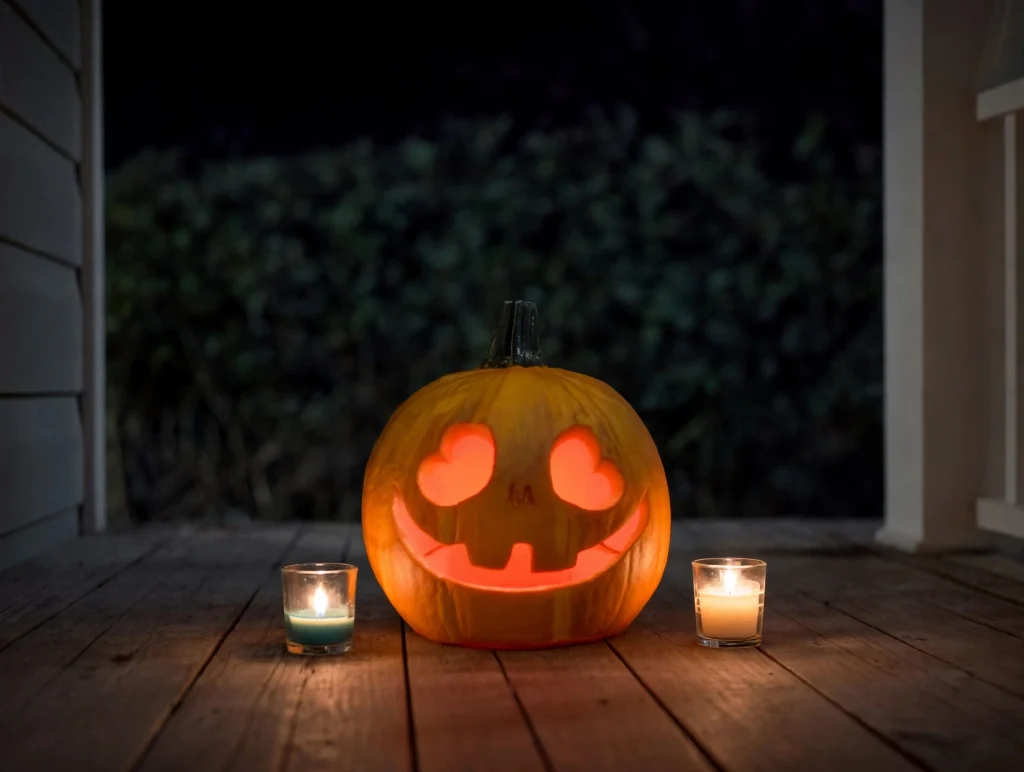
Easy & Quick Halloween Pumpkin Designs
The Classic Grin: Simple & So Effective!
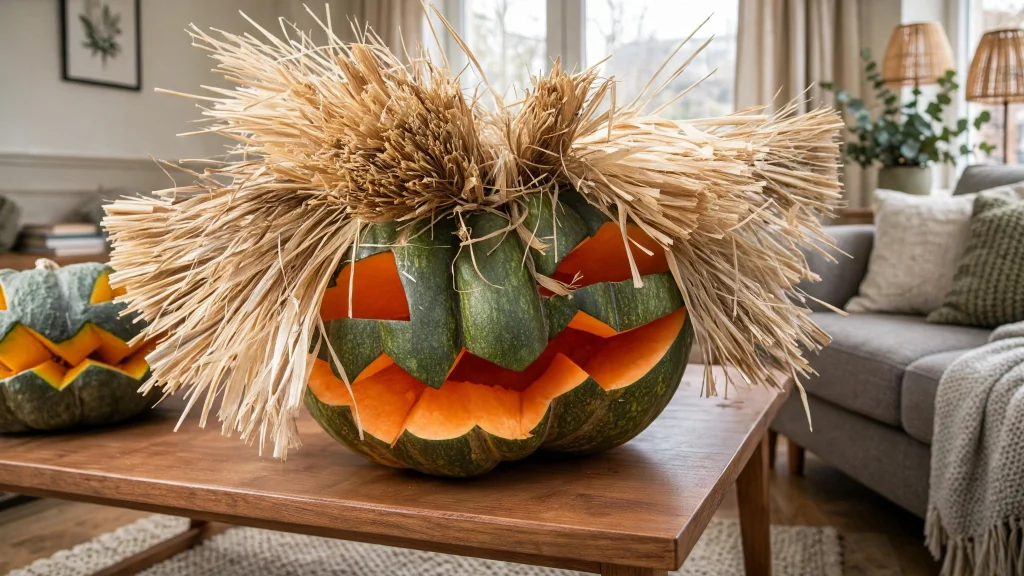
Starting with the traditional jack-o’-lantern face is totally fine as a base. It gets recognized instantly. Then, maybe add a hat? Or give it a little scarecrow action with some wiggly arms? It’s simple, and let’s be honest, it gets the point across – spooky fun – without breaking a sweat, especially if you’re doing it with kids for the first time.
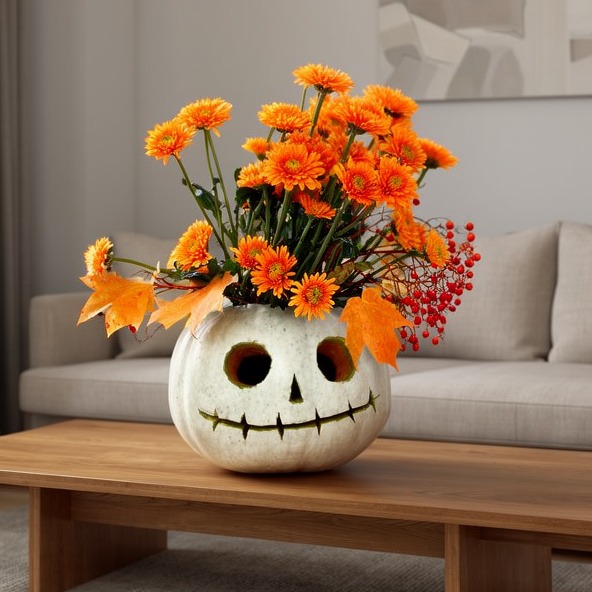
The Grinning Ghost: Keep it Minimalist!
Want something quick and less conventional? Carve out the eyes, mouth, and maybe a tiny nose – that’s pretty much it for a ghost. Then, prop it against a dark or spooky backdrop – maybe some Halloween fabric or just a plain wall works. It’s minimalist, but with the lighting (glow stick or just a black background helps), it definitely looks haunting. Pretty cool and easy to pull off.
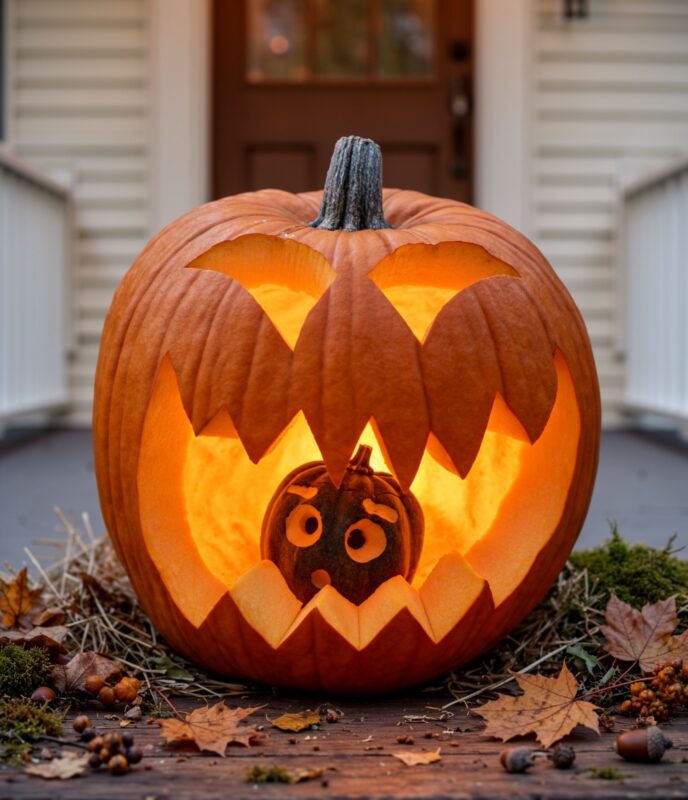
Beyond the Basic Grin: Let’s Get Creative!
Creepy Crypt Dwellers: Add Some Depth!
Why stop at just a face when you can make them more complex? Weave in some extra details – like real-looking eyes (they sell those little kits sometimes), maybe a mouth, some wrinkles. You could almost turn it into a mini, glowing storybook character or a crypt dweller. Creepy? Maybe. Impressive? *Definitely*. It’s a fun challenge!
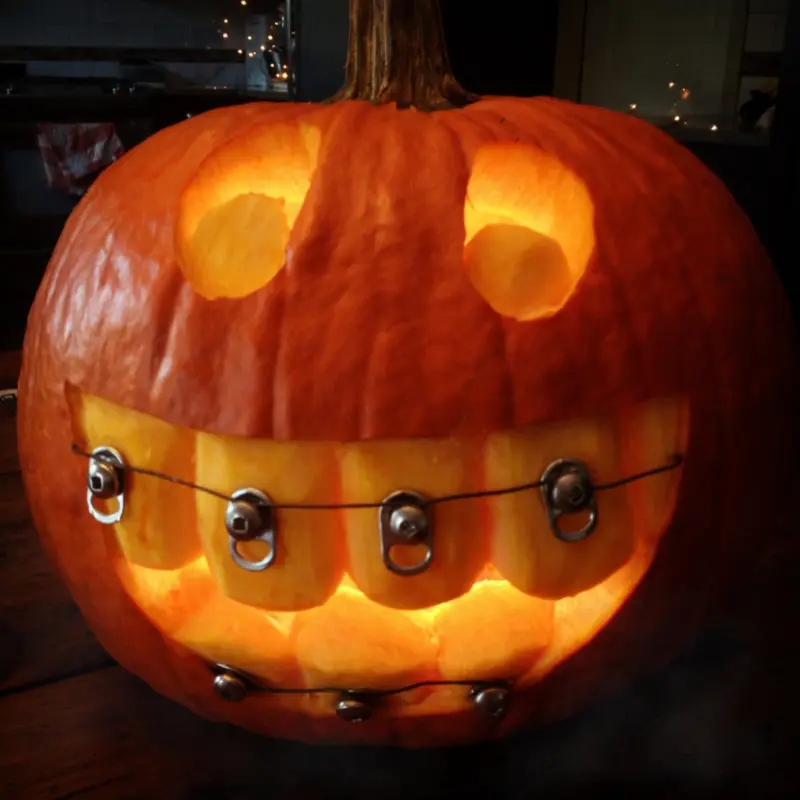
Eyes & Mouths: Simple Details Make a Big Impact
You don’t need to carve an entire scene every time. Sometimes, just adding simple but incredibly detailed eyes and mouths, especially when they’re lit up… that can make a HUGE difference in the creep factor. Don’t underestimate those tiny facial features! They’re the focus!
Pumpkin Power: Arranging Your Creations
Grouping Up for Maximum Spook!
Make it a cluster! Gather up several pumpkins with the same theme – all grinning grinningly, all ghostly gloomily. It creates a really nice, focused visual effect. It looks way more impressive than just one lonely pumpkin standing sentinel, doesn’t it? Like a whole army of little orange guys!
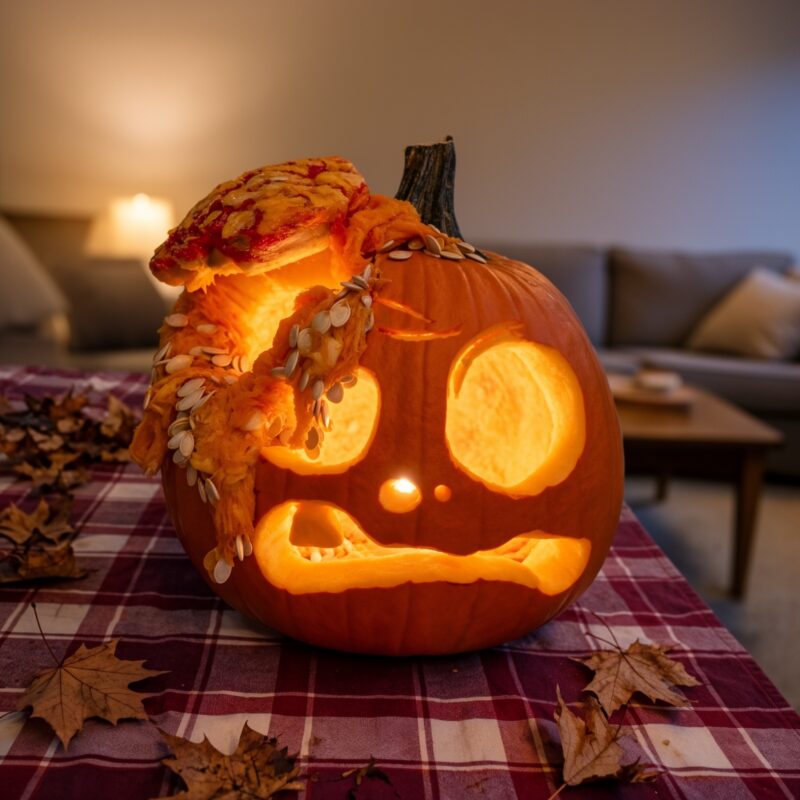
Height & Texture: Get Some Dimension!
Mix it up! Use sturdy stands to prop up some pumpkins higher, while letting others sit lower on the ground or maybe even place a few on upside down boxes or barrels – this adds a nice three-dimensional feel. And don’t forget texture! Sprinkle in some burlap, maybe some cool Halloween moss or even some dried leaves… gives it that extra layer, that depth, like a real haunted forest entrance.
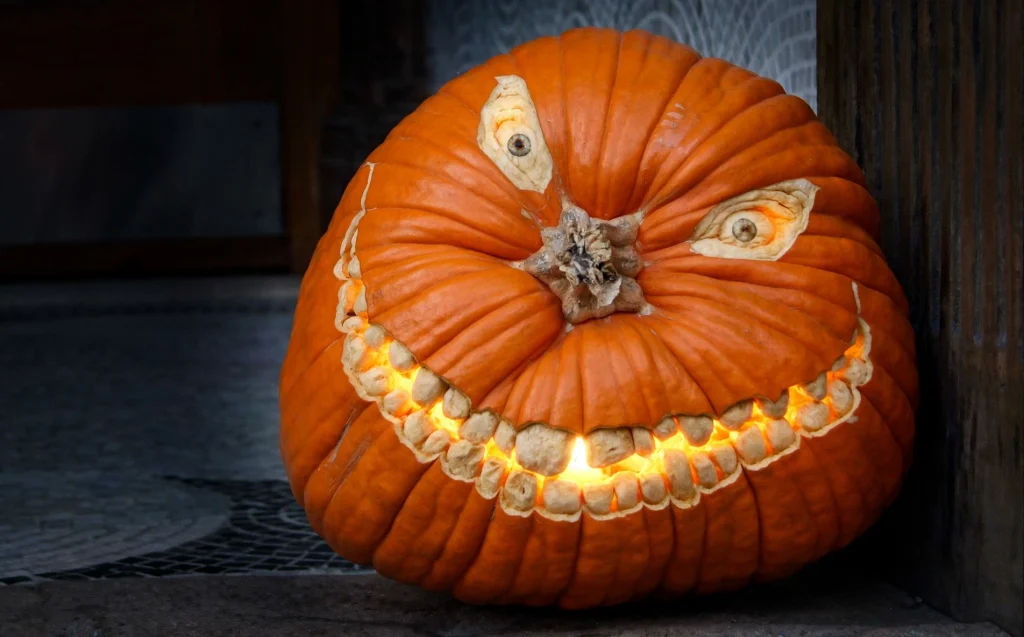
Decor That Doesn’t Involve Carving: DIY Touches Galore
Painting Magic!
Got some plain pumpkins, maybe ones you’ve already done the scary face on? Don’t worry, paint them! Grab some black, dark blues, maybe some vibrant purple or green paint. What you do with it is up to you, but it can absolutely give your display a moody, eerie vibe. Instant transformation.
Wrapping Up with Texture!
How about some burlap? Or maybe just old, slightly spooky-looking rags or scarves? Drape or wrap them around the bottom part of your pumpkins. It adds texture and gives it that rustic, slightly spooky feel. And weirdly enough, it adds a touch of warmth or coziness, even in the context of Halloween!
Make it *Your* Thing: Personalize Your Decor
Family Fun Night!
Why not make pumpkin carving a family activity? It’s usually loads of fun, especially with the kids (though be ready to wear waterproof gloves!). And honestly, the pics for social media? They’re usually epic. It becomes a fun memory too.